
[ad_1]
Today, the entire world will witness the Lunar Eclipse/chandra grahan at 11:30pm and most people would want to capture some great looking photos using their smartphones. You can get some ideas about Lunar Eclipse photography tips here.
Now, if you’ve ever come across a good photo of the moon over the internet, it’s not just the magic of camera and photography skills, editing also plays an important role to enhance the beauty of a photo.
So, here are a few tips you should keep in mind while editing a moon photo. In fact, some of them are also useful for regular editing. Check them out.
For this guide, you can use any photo editing software of your choice, even the built-in editors will do just fine.
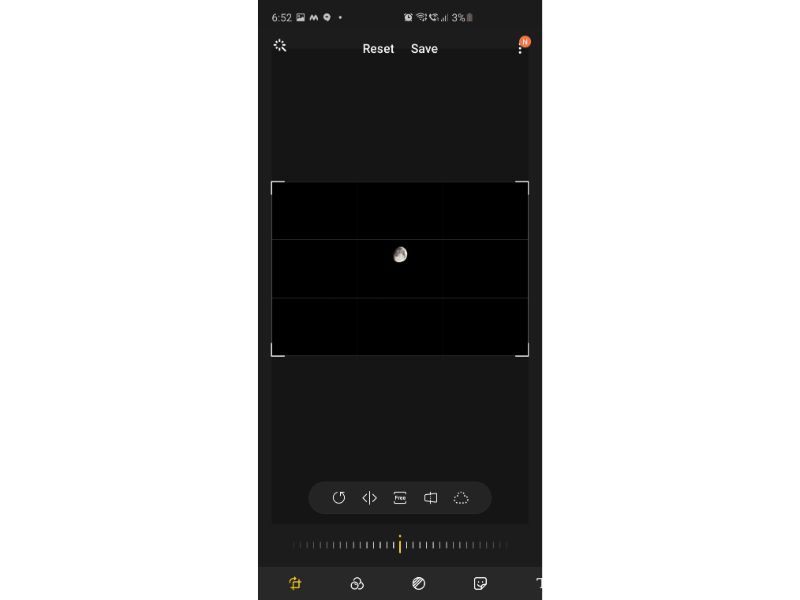
Crop you image
If you’ve read our Lunar Eclipse photography tips, we recommend not to zoom photos while capturing it as it reduces the resolution of the image and that also reduces the image quality. So, take a photo and chop all the unnecessary areas, blank black space from the photo.
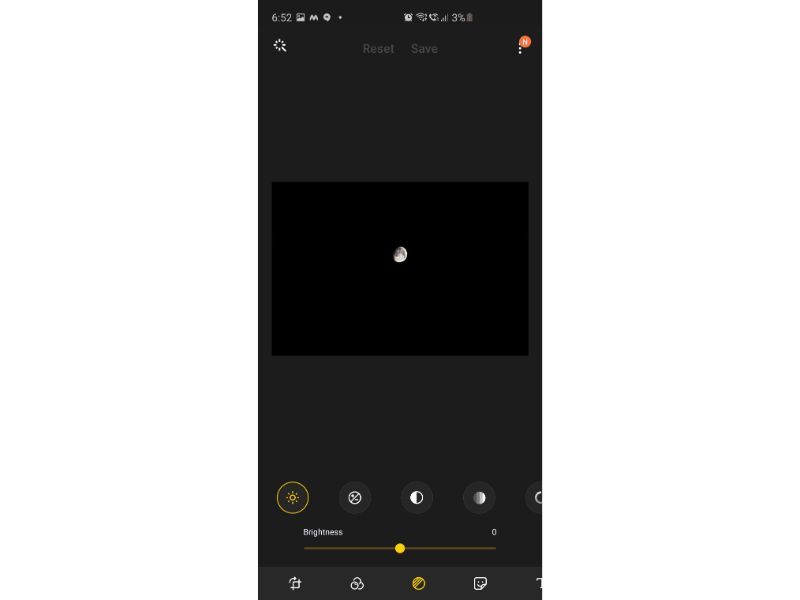
Adjust the exposure value (brightness of the photo)
Tap on the exposure button and reduce the exposure value depending upon your photo until the moon turns grey from white and starts showing some details.
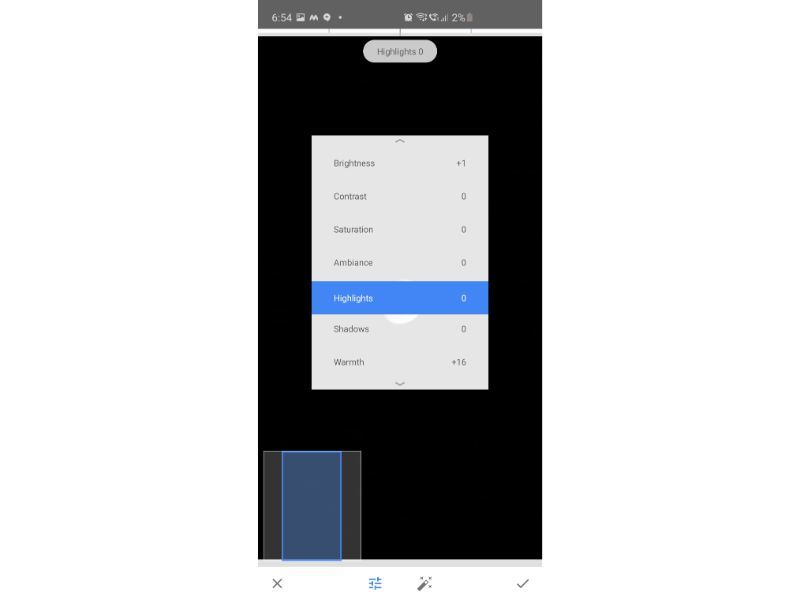
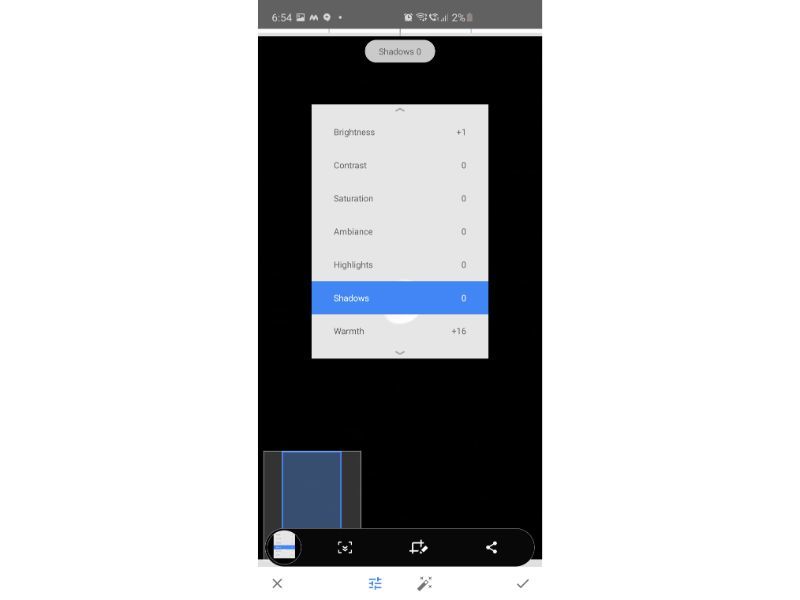
Adjust the Highlights
Reduce the highlights slightly if your moon is slightly overexposed.
Increase sharpness and clarity
You’ve cropped your photo to make the moon look bigger, but in the process, the image usually loses some details and quality. To bring that back, increase the sharpness level of the photo and at the same time also increase the Clarity of the photo. Do note that your basic photo editor might not have the Clarity option.
Adjust White balance of your photo
If the moon if White in real-life, your photo cannot have a yellow-ish tint in it. Adjust the white balance to make it look more natural and realistic.
Once done, take a deep breath and look whether your photo needs some changes or anything which you still want to enhance and make the necessary adjustments before saving the changes.
[ad_2]
Source link

